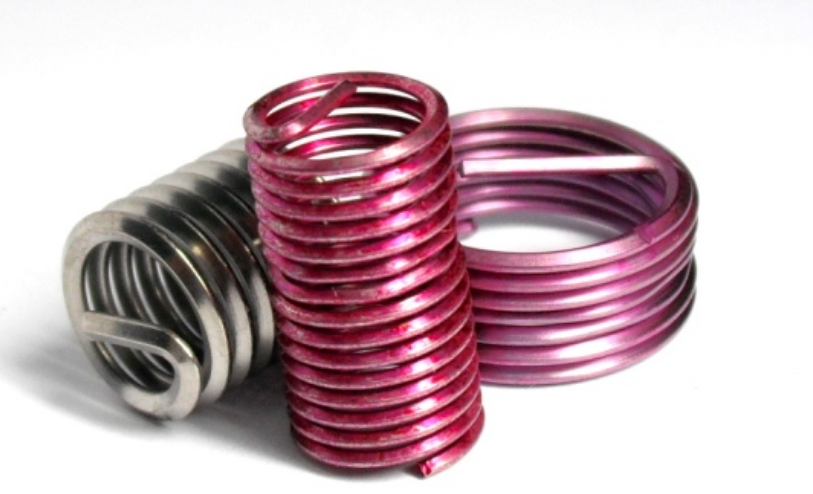
HeliCoil® inserts are small, sometimes underappreciated, fastener components that are integral for reinforcing a stripped thread. The HeliCoil instructions below will help you learn what a HeliCoil is, their applications, and how the threaded inserts are installed.
What are HeliCoils?
A HeliCoil, otherwise known as a screw thread insert or helical insert, is a registered trademark of STANLEY Engineered Fastening. It has a stainless steel wire that has a diamond-shaped cross-section and repairs stripped thread in hard metals such as steel or soft materials such as wood or plastic. HeliCoils create stronger bonds than the original fastener because they are coiled wire inserts that are wider than the tapped hole. When you insert them into the hole, and as you screw the bolt down, the coil tightens and creates a seal. As a result, these inserts prevent wear while boosting the integrity and lifespan of its application.

HeliCoil Applications
HeliCoils work with an array of strong and soft materials and are also available in a variety of diameters. Due to this, you can use the inserts in an assortment of industries, including:
- Aerospace
- Automotive
- Electrical Engineering
- Military & Defense
- Telecommunications
- Transit
- And more!
How to Install HeliCoil Thread Inserts: Instructions
You may be wondering how to install HeliCoil threaded inserts. Luckily, each repair kit has a set of specific HeliCoil instructions along with recommended drill sizes. The following is a general guide for a HeliCoil install:
- Drill out the old threads by selecting the recommended drill size from the thread repair kit packaging. If drilling in aluminum or hard metals, apply cutting fluid to the drill bit and the hole throughout the drilling process to prevent the drill from clogging.
- Tap new threads into the drilled hole with the installation included in the repair kit. Apply cutting fluid to the cutting threads in the aluminum while you turn the installation tool clockwise.
- Turn the installation tool counter-clockwise to remove the tap from the now threaded hole.
- Thread the HeliCoil insert onto the end of the installation tool.
- Set the end of the insert into the hole and continue rotating the installation tool clockwise to wind the insert until it is flush with the top of the threaded hole.
- Rotate the installation tool to drive the insert through the pre-coil body and into the tapped hole in the housing.
- After you seat the insert to the proper depth, unthread the installation tool.
Keep in mind that the proper installation depth of a HeliCoil insert is 1/4-1/2 turn below the top of the original hole. Besides our expertise, Fastener Tool & Supply has all your needs from HeliCoils, standard hardware, specialty products, engineered specials, consumables, PPE, and everything in between. Contact us for a quote, we would be happy to assist you!


